The simple answer might be stick a pin in the map and buy your flight tickets. But what do you do when you get there? Well, we’ve done this before and then wasted a lot of time wandering around a city. Obviously a tour needs much more planning, but why not take the same approach for both. Some of our trips are planned years ahead leaving us plenty of time to research the locations to determine how long we might need to cover what we consider important. This page will include details of the process and the material we review.
Research material
As photographers, we want to make sure there are enough photographic points of interest to occupy our time on location, whether that be a short city break or a travelling tour. You may have other interests, e.g museums, historic sites etc, but research is still the key to covering everything you consider important. The following information includes some of the material we consider in planning all our future trips:-
Magazines and Books
For many years I have subscribed to photographic magazines which include scenic locations around the UK or the world. It doesn’t matter if at the time we have no intention of visiting the area, but one day we might, so we save the information for a later date. Also consider other publications like National Geographic etc.
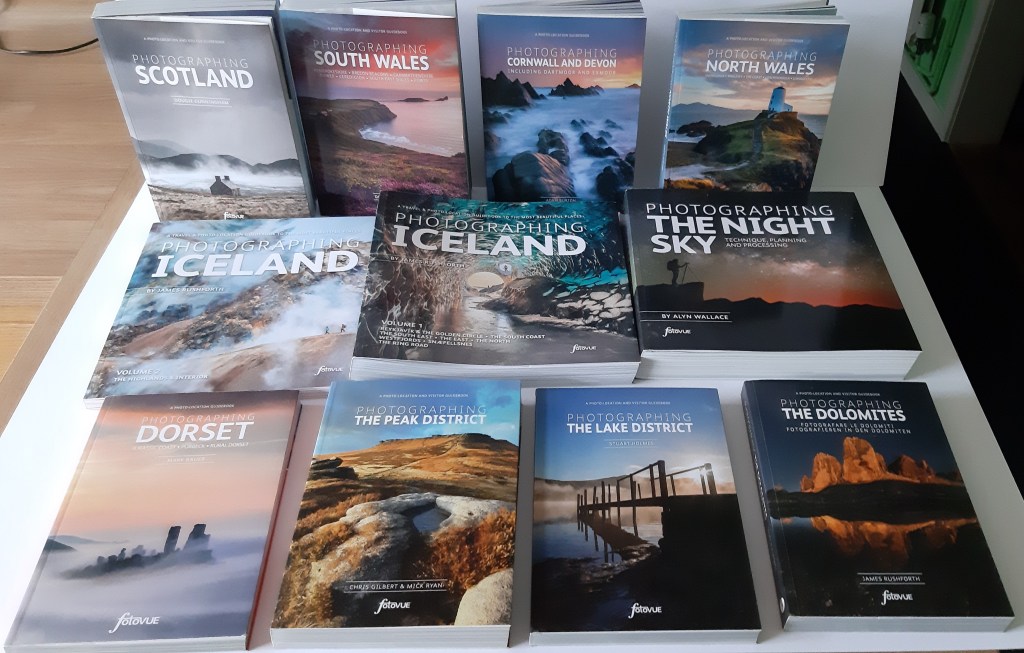
I also purchase many photo books from Fotovue who state:-
“Our objective is to provide those interested in outdoor photography with high-quality location information showing where to take the best photographs and advice on how to get better at photography. We are committed to providing photographer-authors with a way to make an income from their passion by authoring photography location guidebooks, both print and e-book. We work closely with photographer-authors to do this. We always respect copyright. Photography is a creative work.“
There are many other publications, but you hopefully have enough information to make your own decision.
Storing all the information
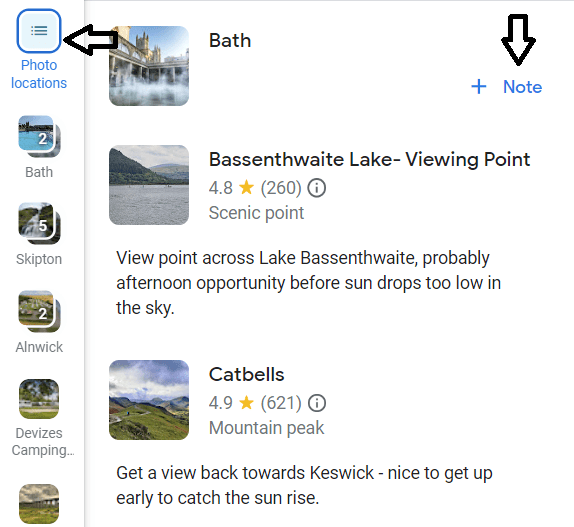
Quite simply we use Google Maps. In the image below you can see many bookmarks.
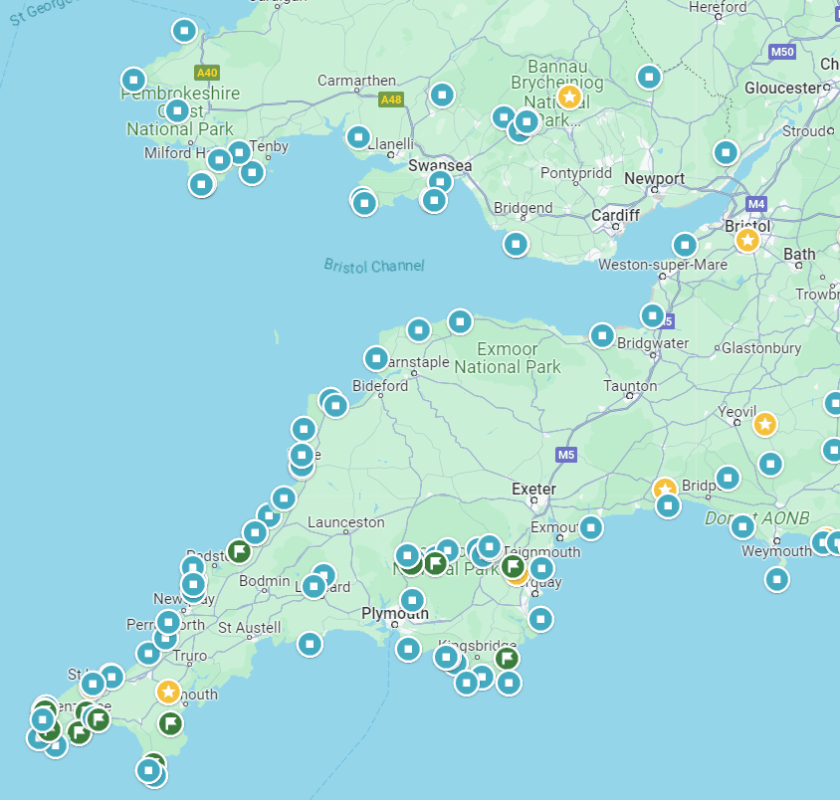
Each turquoise bookmark is a saved location which we would have found through research. These also have a ‘note’ section for you to record something about it – for example; “best photographed at sunrise on a low tide”. Then if you’re in the vicinity in the future you have enough information to plan that visit.
As an example, if we use Bath as a generic search, then Google shows several options – the second one being “Save”. Selecting this you’ll be presented with several folders in which you want to save a bookmark.

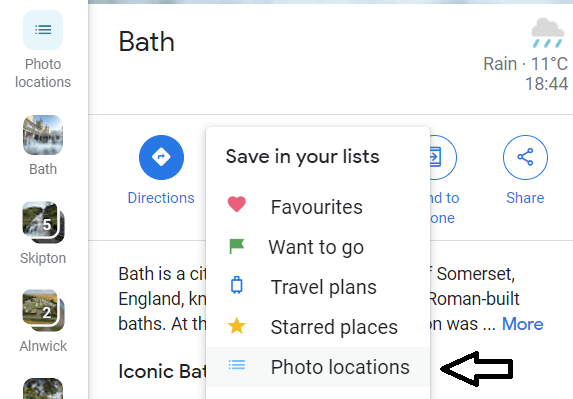
I previously created my own ‘Photo locations’ folder which I select to save the bookmark. Google normally opens up a ‘note box’, but if it doesn’t…
….then select the ‘Photo Locations’ button on the left and add a note. Looking at previous bookmarks you get the idea of the information I save.
So hopefully you can see that if we decided to revisit the South West of England, we already have a large number of bookmarks to select from. These bookmarks can be shared, so Vanessa can search for campsites for the motorhome in amongst groups of these locations to minimise travel times – important if we are up early for sunrise.
Phone Apps
Whilst we are still covering the topic of locations, then there is one app that I can highly recommend:-
Locationscout App
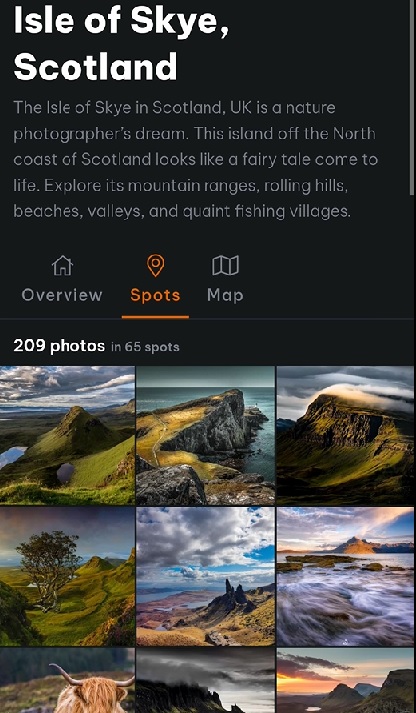
Locationscout is probably my most used app when it comes to looking at good photo locations with most photos taken by good photographers. It describes where a photo was taken from and what lighting conditions may be the best. It also includes a ‘learning’ section which can help improve taking photos or improve your post processing techniques.
For example, if we search Locationscout for the ‘Isle of Skye’:-
Selecting any one of the ‘Spots’ shown – in this example, Fairy Pools:-
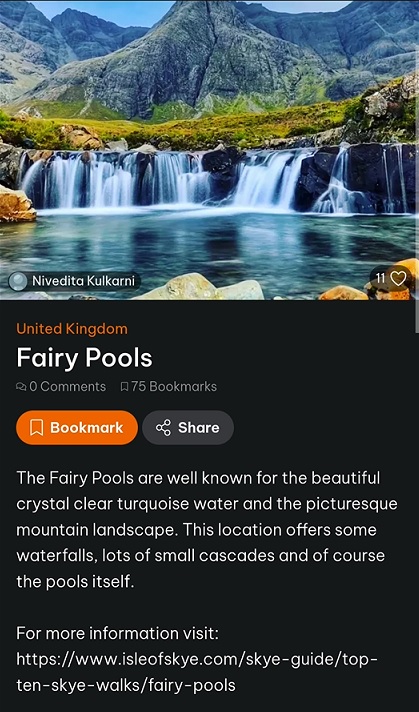


As you see, each location has information as well as photography tips. The map shows the location and if you have a premium subscription this can link into Google Maps – which is where I then save a bookmark.
Unfortunately I can’t fully recall what features you get with the free version; I think you get the ‘spots’ on a map but can’t get the additional detail. You’ll have to install the app and try it, especially as it now includes a free premium trial period. I became a premium subscriber to Locationscout which cost me approx. £55 per year (for 2024), but I consider this well worth the money as it avoids too many wasted journeys in the car trying to find something worthwhile photographing.
Sun Surveyor App
This app comes in a ‘Lite’ format which is free, but I paid the one-off £10 for the full version. Sun Surveyor will allow you to identify dates and times when the heavenly bodies are visible for photo opportunities, e.g. when the Milky Way is visible or when a full moon is rising/falling in low sunlight etc.
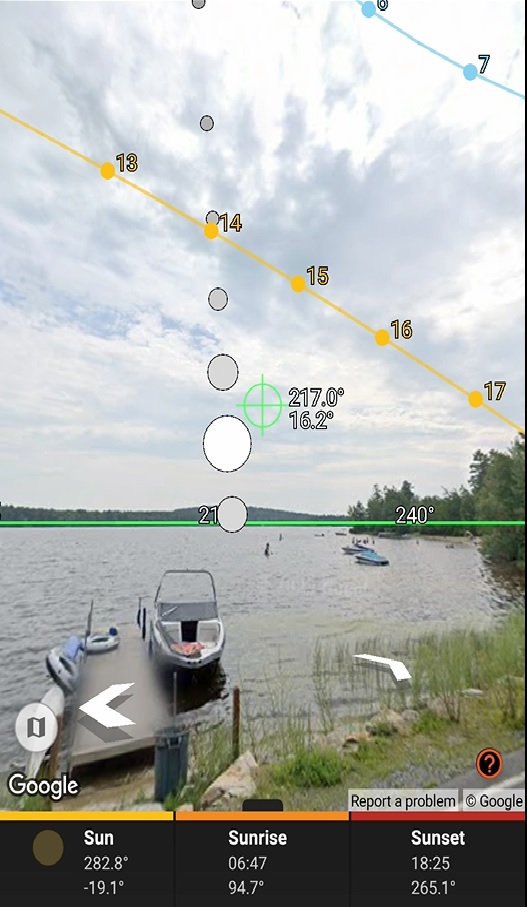
It also gives you a clear indication of their position in the sky on a map or with a ‘Live View’. They will help identify where a photograph should be taken from. The best way I can help to explain how I use it is with the following photograph that I took at sunrise in Bryce Canyon.

For this I used the ‘Map’ view with the sun arc overlay to find a position on the footpath for the sunrise the following day. Once in that position, I used the ‘Live View’ with date and time set for sunrise the following day to finalise the tripod position. This was the image I took the following day – no time wasted finding the correct spot before the sun was in position.
The next example used live view; the left hand image was captured on my phone adjacent to a pier on Little Sunapee Lake in New Hampshire whilst checking out the best photo location (needs a mobile data connection). I had previously used the Ephemeris part of Sun Surveyor and the ‘Map’ view to identify this as a possible Milky Way location in New Hampshire before we arrived in the USA. The right hand image shows the result of this research.
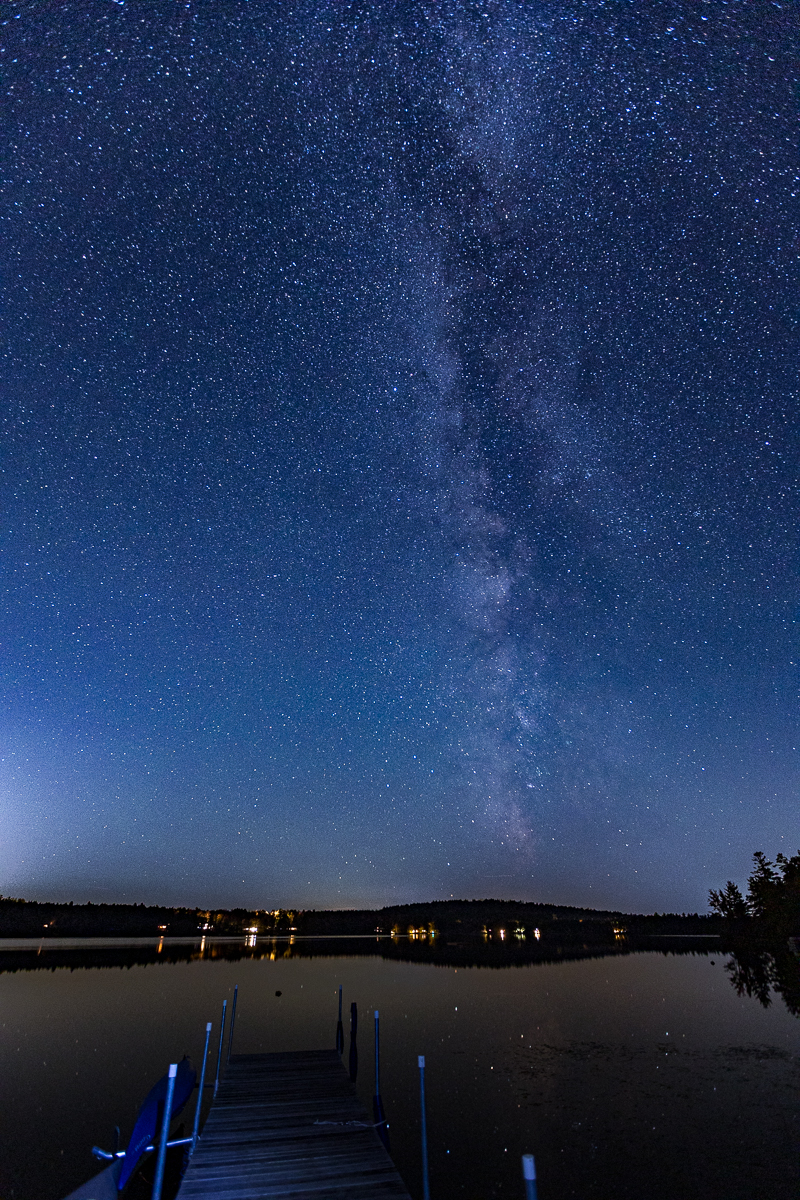
Hopefully these examples are enough to make you have a look into Sun Surveyor.
If you are interested in night photography, then you may need one more app:-
Light Pollution Map – Dark Sky App
This helps identify if the sky would be dark enough to get the best night sky images. Obviously the further you are from built up areas the darker the sky should be, but the app should help.

There are other apps that I use, but they mainly assist with the technical aspects of photography, so I won’t bore you with the details.
